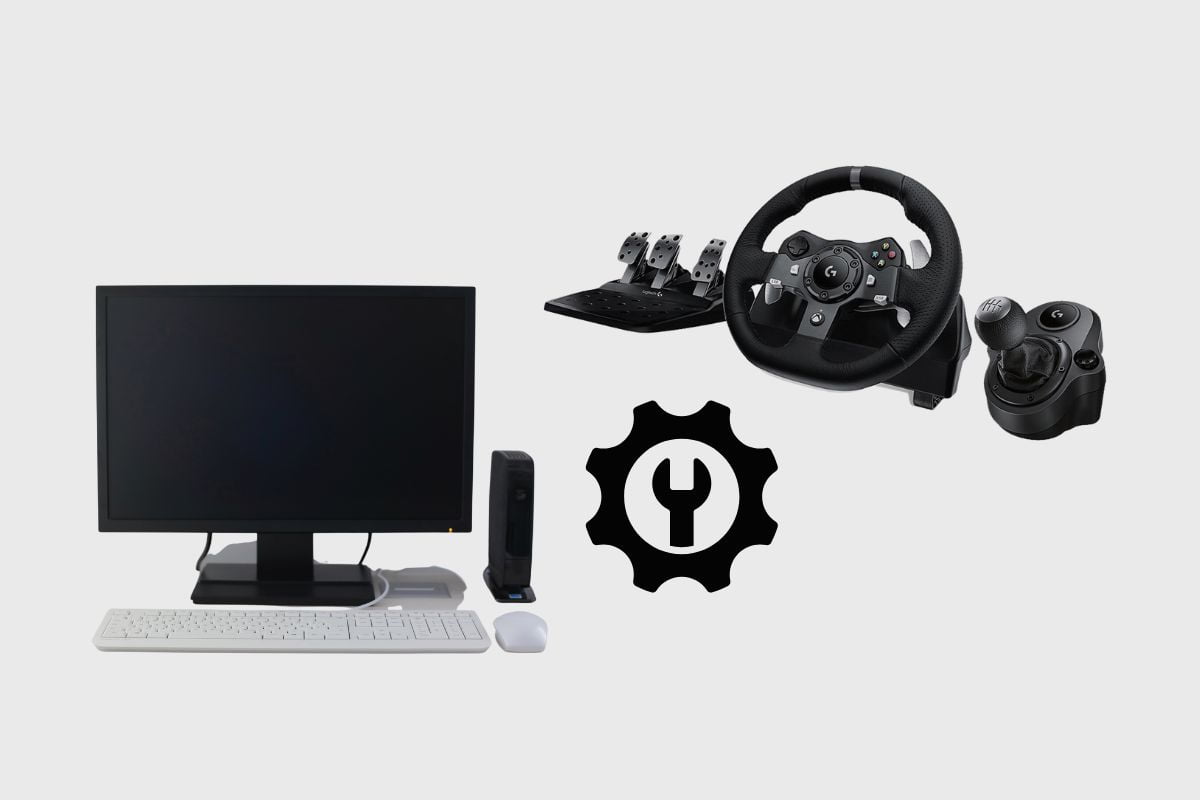
Setting up your Logitech G920 on a gaming PC is not a very complicated task, and it is very fun to do, but it is also something that will take some patience to get done because there are a few moving parts and pieces that you will need to get right so that you don’t mess up your setup.
So, in this post, I will be showing you how to set up your Logitech G920 racing wheel with the shifters, pedals, and racing frame. The Logitech G920 and G29 are very similar racing wheels, and this setup also applies to the G29.
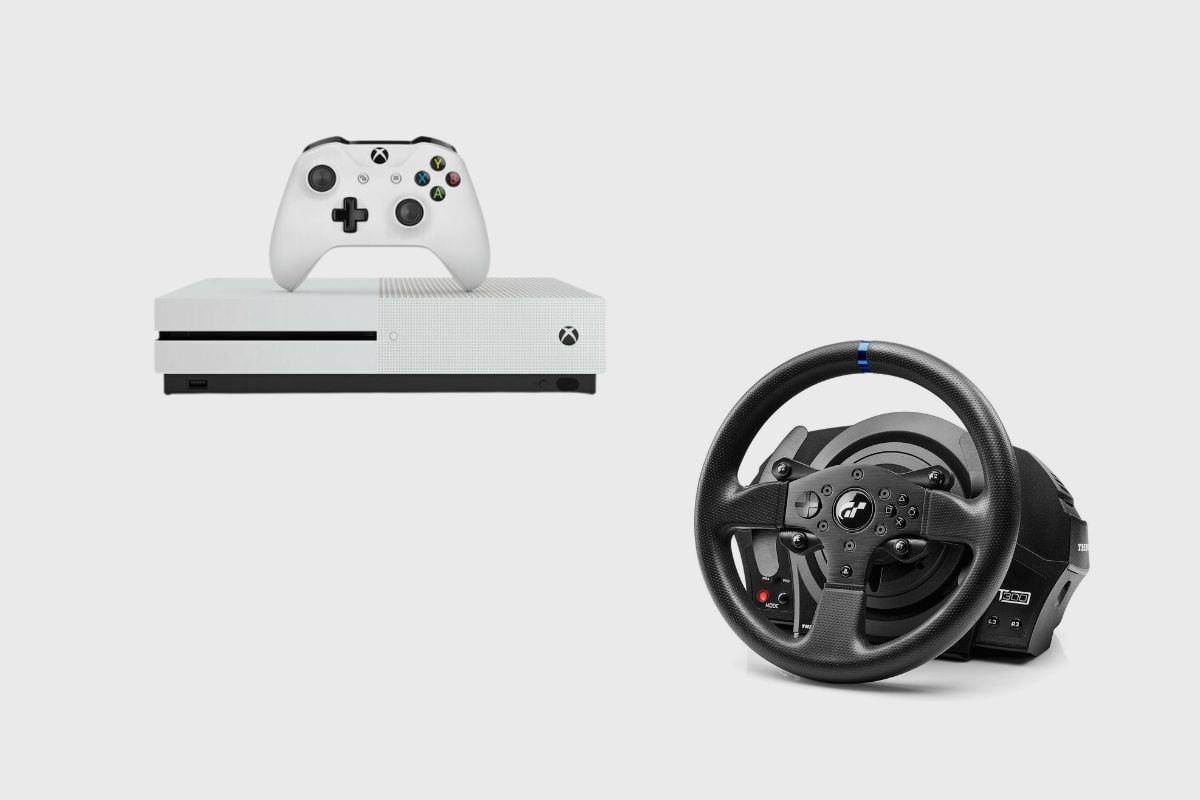
The G29 is just the same design but is made for PlayStation consoles and PCs, while the G920 is made for Xbox consoles and PCs. This setup process is very simple, and all you have to do to get it right is follow all of the steps I have listed for you, and you should be fine.
Related post to read: Logitech G920 Review.
How to Setup a Logitech G920 on a PC
From a setup standpoint, Logitech has really made the setup process very simple for you. All you have to do is take all of the pieces from their boxes and lay them out.
There is no need for any assembly or using bolts to put them together; everything has been assembled together for you, and all you have to do is plug everything together in their respective ports, and you should be fine.
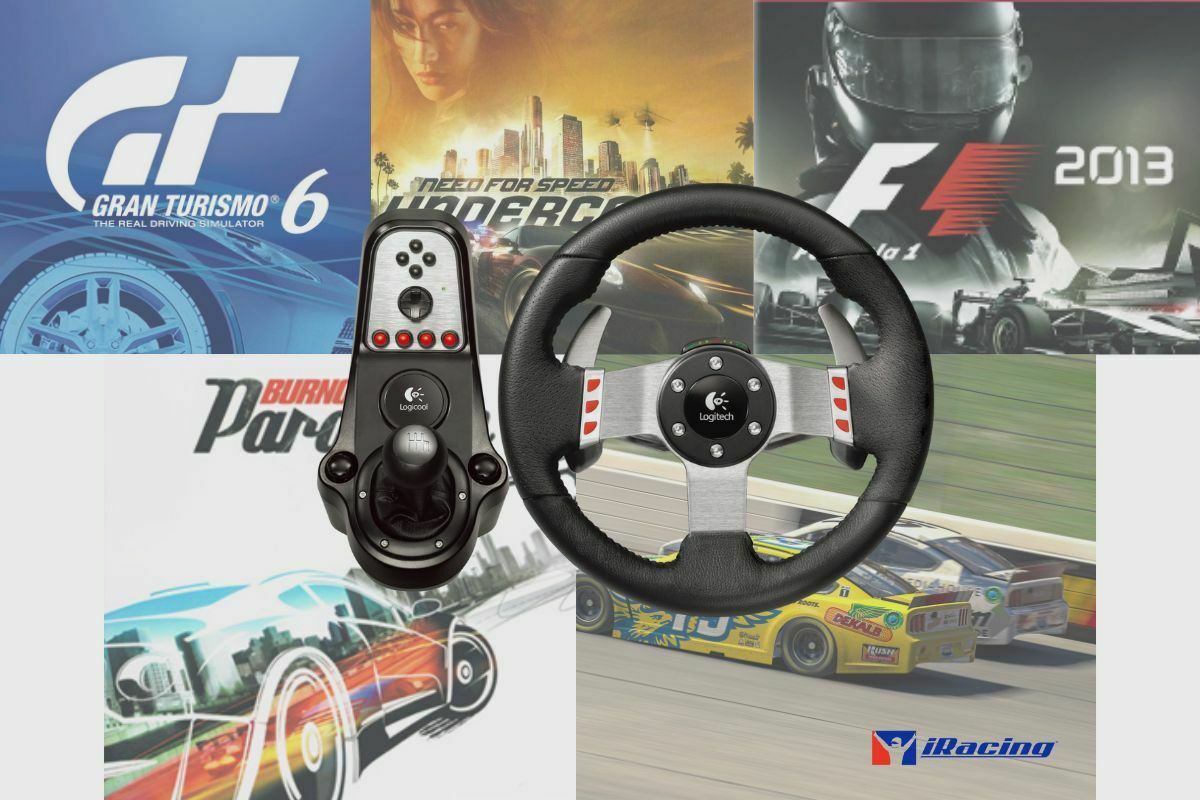
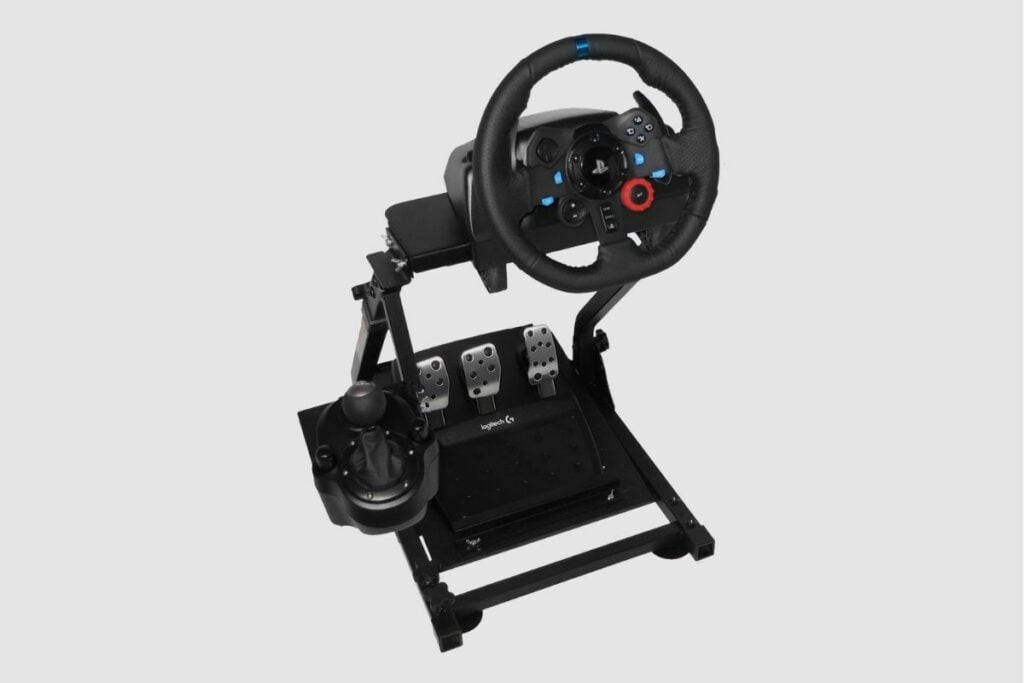
So, when you buy a Logitech G920 racing wheel, it will come with its own three-pedal system, which includes the brake, clutch, and accelerator. The gear shifter is an optional piece that is sold separately but is also a very good piece to buy if you want to have the complete driving experience.
Generally, you have two options when you want to set up your Logitech G920 racing wheel. You can either set it up using a table and chair (which is very uncomfortable and not optimised for racing) or a racing rig, which is slightly more expensive but will give you the feeling of being in a race car or cockpit.
When I first started sim racing, I initially used a table and chair setup and won a few races, but when I wanted to take my streaming journey to the next level, I bought a racing rig. However, I started with a fairly cheap one and instead splurged on getting a better racing wheel before later upgrading my racing rig for a slightly more expensive one.
My first racing rig was a Vervor G920 racing rig mount, which was about $100 at the time on Amazon, but I now use a Next Level Racing GT lite cockpit, which costs about $250 on Amazon. So, I will show you how to set up using a table and chair, and I will also show you how to set up using a racing rig.
1. How to Set Up a Logitech G920 using a Table and Chair
When you are using a table and chair to set up your Logitech G920 racing wheel and shifter, you are going to need a few things. The first thing you are going to need is a rug underneath your desk or table.
The rug is very useful for adding a bit of grip underneath your pedals because they will move around a lot when you are trying to hit the brakes, and that can be very uncomfortable and make it harder for you to win races.
The next thing you will need is a mat to put underneath your racing wheel and gear shifter. I use a mat to prevent scraping on my table when I get a bit too overzealous in some of my races. A mat is less for grip and more for protection of your table, especially when you can clamp down both the steering wheel and gear shifter.
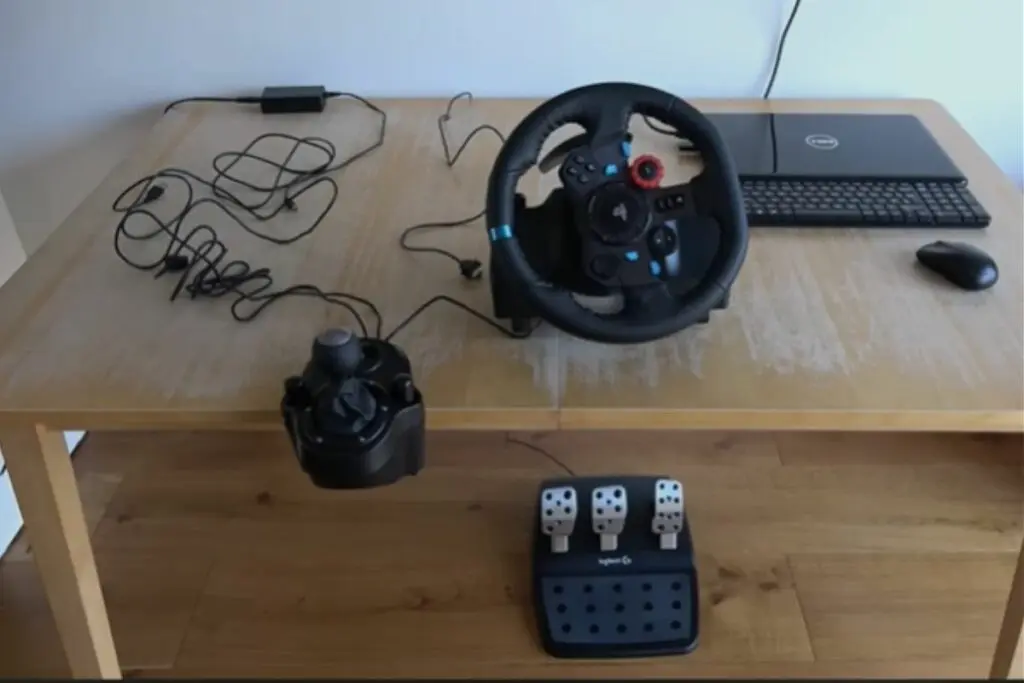
Once you have everything you need, all you will have to do is run your individual cables into your Logitech G920 steering wheel. You will have to take the cable attached to the pedals and plug it underneath the steering wheel but do make sure to wrap it around the cable holder so that you don’t have any extra cables exposed.
Then you will need to do the same with your gear shifter too. One of the pitfalls of using a table and chair system is that there are no clamps or cable guards on your table, unlike with a racing rig. To make everything look organised, you will need to get some tape and stick all your cables on the table.
Also, please remember to put your gearbox on whichever side you drive within your country. It is something most people forget, and while it may be nice to use the gear on the side of your dominant hand, you will only pick up a bad habit that could only confuse you when you are driving in real life, especially if you haven’t learned how to drive in real life yet.
Once all the cables have been plugged into the steering wheel, you can then proceed to take your power supply cable and plug it into a socket, and then take the USB-A cable and put it inside of your PC.
Also, please don’t plug your gearbox into your PC because it might not register that it is part of the driving wheel. Once everything has been plugged in, you can go ahead and install the G-HUB app from the Logitech website and then turn everything on and register your device on the G-HUB app. Once that is done, you should be able to race with the Logitech Steering wheel.
2. How to Set Up a Logitech G920 Using a Racing Rig
Setting up your Logitech G920 is a very simple process. However, it does depend on the kind of racing rig you buy. If you have something like the Next Level Racing GT lite cockpit, then your set-up process is a little complicated. If you are using a cockpit that comes with a chair, you will have to assemble it, and that can take a bit of time.
However, the process is very simple as long as you make good use of the manual. When I set up mine, it didn’t take me long to figure out how to set it up, and Next Level GT also made the process simple for me because all I had to do was attach the rods to the chair and then attach the pedal plate to the bottom end. The good thing about setting up the Next Level GT racing rig is that it is very portable because it can be folded up and put aside.
On the other end of the spectrum, the much cheaper Vervor G920 racing rig mount doesn’t come with a chair, and it is almost like a simple table, but it differs in two key areas. It has a spot for your gearbox that is detachable so that you can move it from left to right, and it also has a spot for placing your pedal at the bottom of it.
The pedal placement is also tilted at an angle that makes it more balanced and comfortable to use. Setting up a table racing mount is very easy because it doesn’t require any major assembly. It comes folded up, and once you unfold it, it is ready to go.
Setting up a Logitech G920 on a racing rig is very similar to setting it up on a table and chair. Once you place all of the individual pieces in their respective spots, you just need to put the cables from the pedals and the gearbox into the steering wheel. Then all you need to do is take the power cable and plug it into an outlet, and then take the USB-A cable and plug it into your PC.
Once everything has been plugged in, you can go ahead and instal the G-HUB app from the Logitech website, turn everything on, and register your device on the G-HUB app. Once that is done, you should be able to race with the Logitech steering wheel.
Installing Logitech G HUB on a Logitech G920
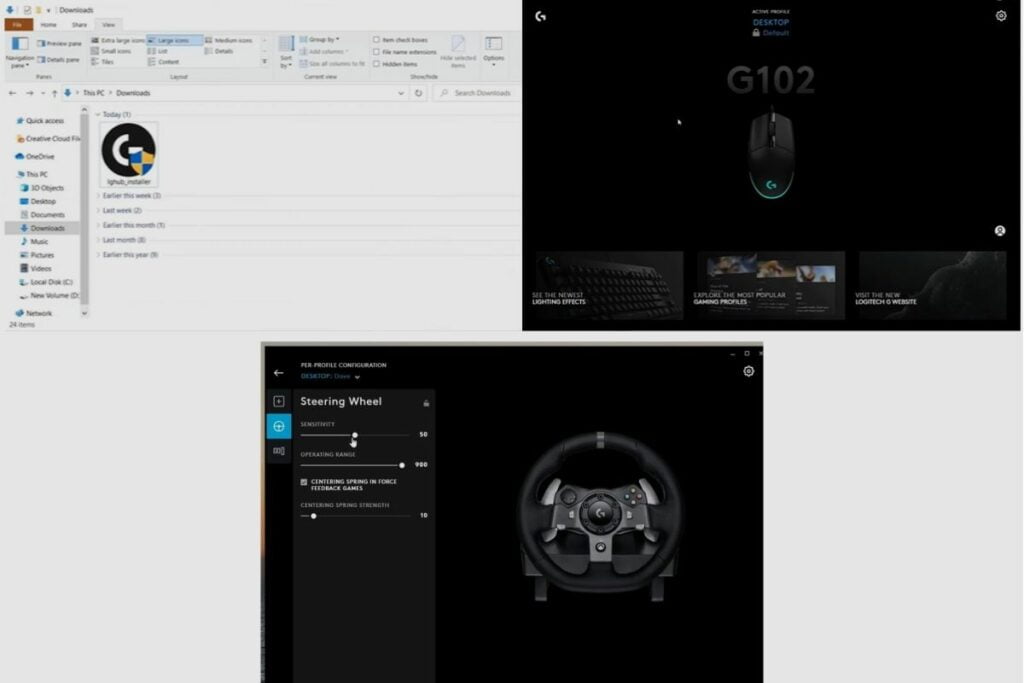
To instal Logitech G HUB on your PC, you will need to either go to the Logitech website and search for it there or just search for “Logitech G HUB” on Google and then click the first link you see. Once you are on the G HUB website, click on the download button that corresponds with your OS; for me, that is Windows PC. Once it has been downloaded and installed, open it, go through the installation process, and then launch it again.
Then you will need to give it access to your computer and then go through the getting started process. Then you can start G HUB; once you launch it, you should be able to find a picture of your Logitech G920 racing wheel.
When you click on it, it should show that the device is connected. If your device initially reports that it is not connected, simply restart the app and try again. If that doesn’t work, unplug the racing wheel and plug it back in when you open the G HUB. This should eliminate any errors that may have occurred.
After that, you should be able to connect it to your G HUB, and once connected, you can remap your racing wheel buttons as well as change some of your system settings. You can also change the sensitivity of your steering wheel and pedals. After connecting to G HUB, you can begin playing your favourite racing games.
Conclusion
Setting up a Logitech G920 is a very simple process, and it is quite fun to do. It might not be as much fun racing, but there is something very satisfying about setting up a racing wheel with all the parts and pieces by yourself.
So, whether you are setting up using a racing rig or a table and chair, I have provided you with more than enough information to get you started as a sim racer. Thank you so much for reading this article. Please leave all of your questions in the comment section and let me know if you were able to use this article to set up your Logitech racing set.
Related Posts to Read: